
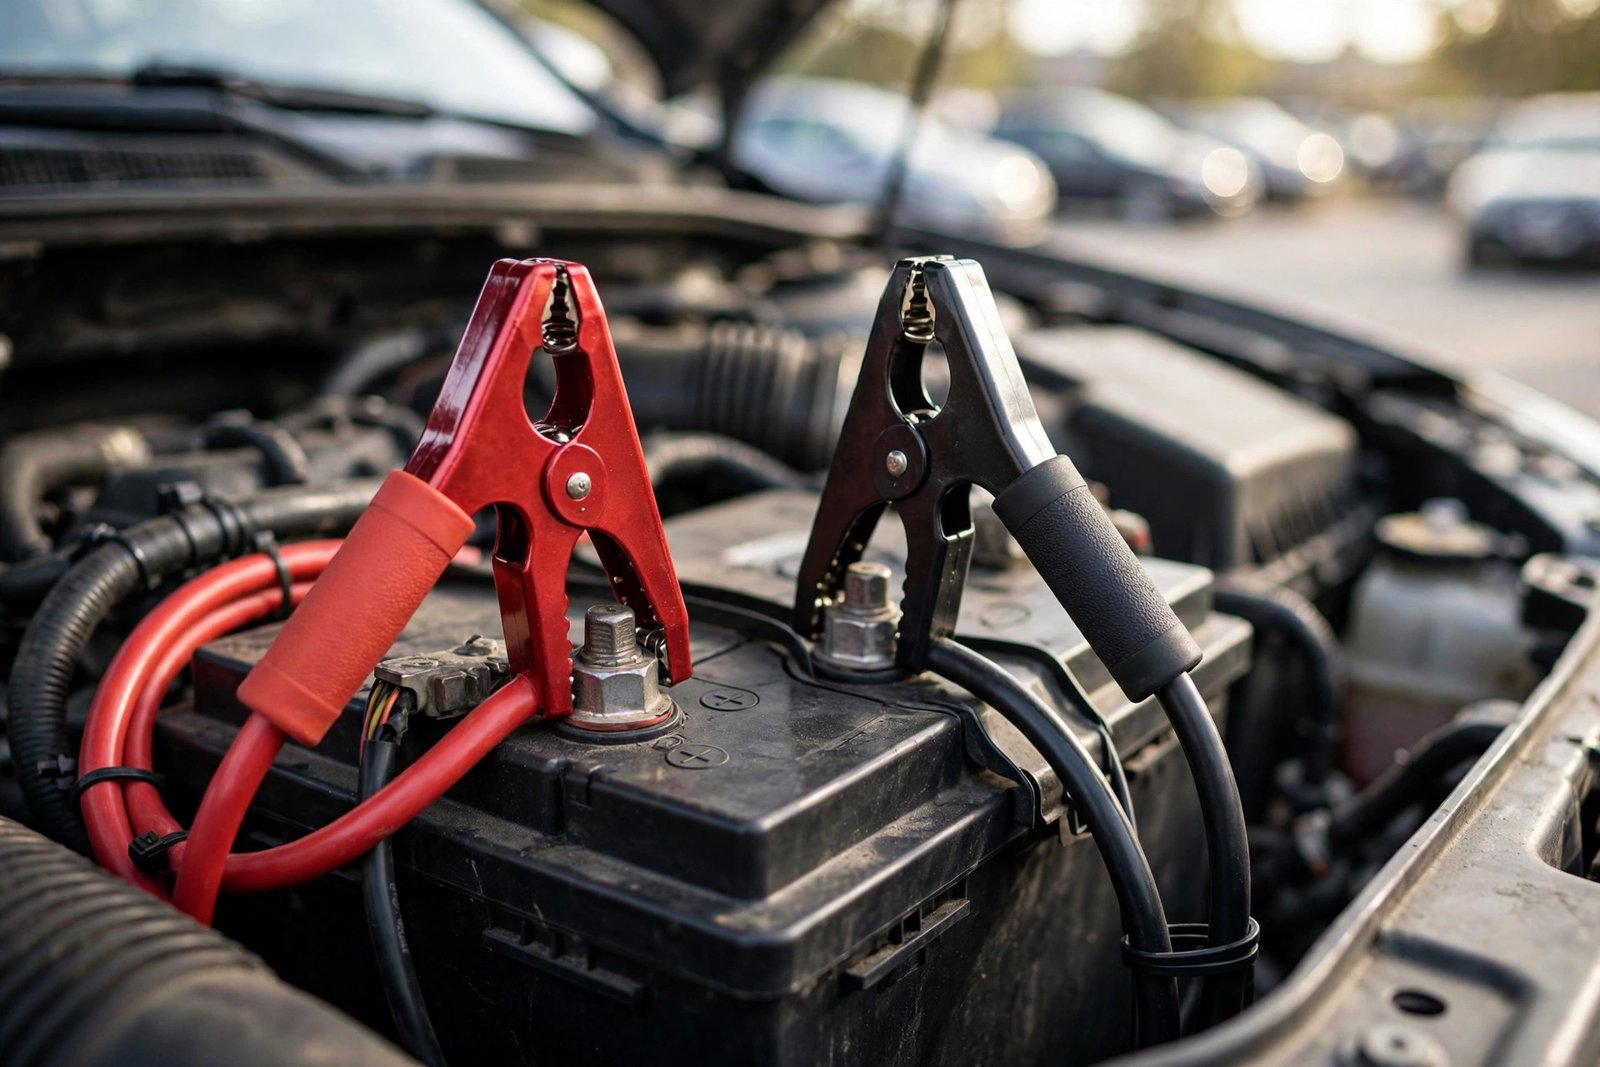
A dead battery in a parking lot is stressful — and it’s exactly when people rush the one procedure that can genuinely hurt them. Jump-starting is simple and safe if you follow the exact sequence and the safety checks below. If you’ve never done it, read this once before you’re standing in the rain with cables in your hand.
First: When NOT to Jump Start
Check the dead battery before connecting anything. Do NOT jump start if:
- The battery case is cracked, swollen, or leaking fluid. A damaged battery can explode. Replace it — don’t jump it.
- You smell rotten eggs (sulfur) strongly around the battery. That’s hydrogen sulfide; the battery is failing internally.
- The battery is frozen. A frozen battery (bulging case, electrolyte turned to ice in extreme cold) can rupture when current flows. Let it thaw or have it tested first.
- The terminals are heavily corroded and the cable clamps won’t seat. Clean them first (baking soda + water, wire brush, ignition off).
- Your car is a hybrid or EV. Hybrids have a separate 12V system with specific jump points and procedures in the owner’s manual — and the high-voltage system is not something to improvise around. Check the manual before touching anything. Many EVs can’t be jump-started conventionally at all.
Hydrogen warning: batteries vent hydrogen gas, which is explosive. Never smoke, never allow sparks or open flames near a battery, and never lean over it while connecting cables. This is why the cable order below exists — it keeps the final spark away from the battery.
What You’ll Need
- Jumper cables (heavy-duty, 4–6 gauge, at least 10–12 feet — short thin cables are the #1 cause of failed jump starts) or a portable jump starter (charged — check it every 2–3 months)
- A donor vehicle with a working 12V battery, or the portable pack
- Safety glasses if you have them
The Exact Cable Order (Memorize This)
Both cars: engines OFF, keys out, parking brakes on. Park close but never touching — separate body panels by a few inches. Turn off all accessories in both cars (headlights, radio, AC, heated seats).
- RED clamp → DEAD battery POSITIVE (+). Connect to the dead car’s positive terminal first.
- RED clamp → DONOR battery POSITIVE (+). Other end of the red cable to the good battery’s positive.
- BLACK clamp → DONOR battery NEGATIVE (−). The black cable’s first end goes to the donor’s negative terminal.
- BLACK clamp → UNPAINTED METAL on the dead car’s engine block or chassis. A clean bolt or bracket, away from the battery. This is the ground connection — and it’s the step most people get wrong. Never clamp the last black lead to the dead battery’s negative terminal; that puts the final spark right where hydrogen gas collects.
Double-check: clamps seated firmly, not touching each other or any moving parts (belts, fans).
Starting Up
- Start the donor car and let it idle 2–3 minutes so some charge flows to the dead battery.
- Try starting the dead car. If it cranks but doesn’t catch, wait a few more minutes and try again — don’t crank more than ~10 seconds at a time.
- If it still won’t start after several tries, the problem may not be the battery (could be the starter, alternator, or a connection fault). Stop and get it diagnosed.
Removing the Cables: Reverse Order
Remove in the exact reverse of how you connected:
- BLACK clamp off the dead car’s metal ground point
- BLACK clamp off the donor’s negative terminal
- RED clamp off the donor’s positive terminal
- RED clamp off the (formerly) dead car’s positive terminal
Keep clamps from touching each other or any metal while you remove them.
After It Starts
- Drive for at least 20–30 minutes (highway is best) so the alternator can recharge the battery. A 5-minute hop won’t cut it — the car may not restart.
- If the car dies again soon after, the battery likely won’t hold a charge (or the alternator is failing). Get both tested — most auto parts stores test batteries free.
- If you needed a jump for no obvious reason (no lights left on), the battery may be at the end of its 3–5 year life. Have it load-tested.
Using a Portable Jump Starter
- Confirm it’s charged (a dead pack is the most common failure).
- RED clamp to battery positive (+); BLACK clamp to battery negative (−) or an unpainted metal ground point — check the pack’s manual for its preference.
- Power on, wait ~30 seconds, start the car. Disconnect in reverse order and switch the pack off.
Modern Cars: A Word of Caution
Late-model cars pack sensitive electronics (ECUs, infotainment, driver-assist modules). A jump start done wrong — reversed cables, voltage spikes — can damage them. That’s a strong argument for:
- Following the sequence exactly, every time
- Using a portable jump starter with built-in surge protection instead of a stranger’s car when you can
- If your car has a designated jump-start terminal under the hood (many BMWs, Audis, and others put the battery in the trunk), use it — the manual shows where
Common Mistakes
- Connecting the last black clamp to the dead battery’s negative terminal. The single most dangerous common error — spark next to hydrogen.
- Reversing a connection. Red to negative / black to positive can fry electronics and melt cables. Verify each clamp’s terminal before attaching.
- Letting the cars touch. Two chassis touching creates an unintended ground path.
- Using cables that are too thin or too short. Cheap thin cables can’t carry cranking current.
- Cranking endlessly. If it doesn’t start after a few tries with rests in between, jumping isn’t the fix — diagnosis is.
When to Call for Help Instead
- Battery is cracked, leaking, swollen, or frozen
- You smell strong sulfur/rotten-egg odor
- Hybrid or EV without clear manufacturer jump points in the manual
- The jump fails repeatedly — something beyond the battery is wrong
- You don’t feel safe doing it — roadside assistance exists for exactly this reason
FAQ
Can I jump start alone with no donor car?
Yes — a portable jump starter pack (charged) replaces the donor car entirely. Keep one in the trunk if you park outdoors.
How long do I need to drive after a jump start?
At least 20–30 minutes of driving. Idling alone recharges slowly — driving is better.
Is it bad for the donor car?
Not when done correctly. The one real risk to the donor is reversed cables or a shorted dead battery — hence the inspection and the sequence.
Can I jump start in the rain?
Yes — rain itself isn’t the hazard; sparks near the battery are. Work carefully, keep connections dry-ish, and never rush.
Sources
- Varta Automotive — “Jump-starting a car” (explosive-gas warning; never jump a damaged battery; exact sequence with final ground connection away from battery; reverse removal order) — https://intl.varta-automotive.com/en-au/varta-battery-support/charging/jump-starting-a-car
- DriveSafeOnline — “How to Jump Start a Car and Take Care of Your Battery” (never attach black to dead battery’s negative; explosion risk; reverse removal order) — https://www.drivesafeonline.org/driving-course/how-to-jumpstart-a-car
- UsedCars.com — “How to Safely Jump Start a Car” (full sequence incl. portable jump starter steps; reverse removal order) — https://www.usedcars.com/how-to-safely-jump-start-car
- United Auto Insurance — “How to Jump Start a Car” (accessories off; cars not touching; 15+ min run time) — https://www.unitedautoinsurance.com/how-to-jumpstart-a-car-blog/how-to-jump-start-a-car
- QuickTow San Diego — “How to jump start a car safely” (red→dead positive, red→donor positive, black→donor negative, black→dead-car ground; spark-away-from-hydrogen rationale) — https://www.quicktowsd.com/blog/how-to-jump-start-a-car-safely/